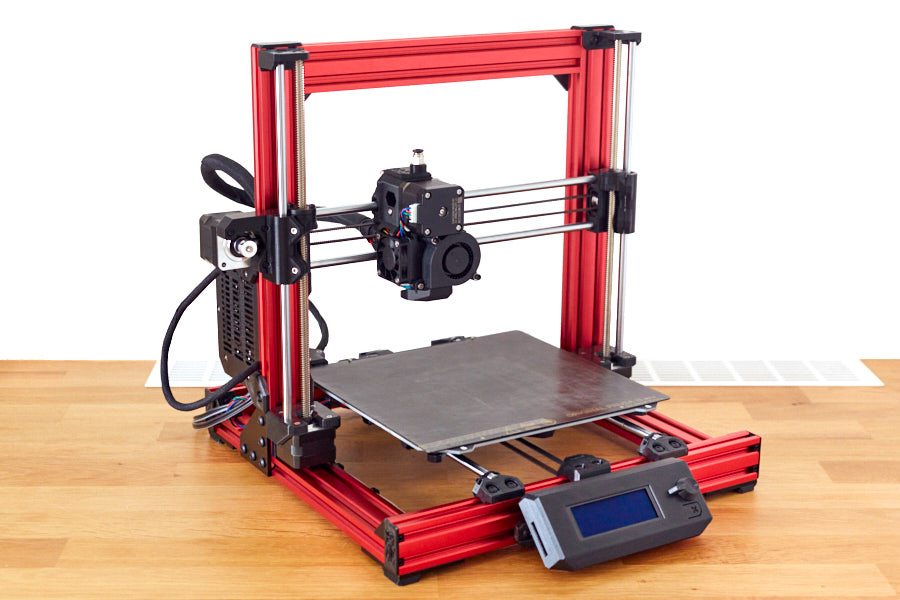
First Layer
I’ve been struggling with my prints where the first few layers have not been sticking to the bed very well. Thankfully, I came across these two helpful posts on the matter Thomas Sanladerer and Maker’s muse. Basically, use some glue on the print bed and reduce speed and increase filament flow for the first few layers of print.
I also discovered that I was orders of magnitude off how much the nozzle needs to be smooshed into the bed. This post made it clear that the live z offset setting should be around -0.5 and -0.7 mm, which is way off what I was doing!. For calibration, I found that this pattern worked much better than the built in one. Potentially, this one could also be useful. This post, this Prusa post was also helpful.
In the end, what seemed to help the most was changing settings in the PrusaSlicer. In the end, what seemed to help the most was simply changing the first layer height, width and print speed. I started with the 0.2mm Quality print settings, modified first layer height to be 0.4mm, made first layer speed 10 mm/s and first layer width of 0.72 mm.

Textured sheet
I got the Textured powder coated sheet, which can make the first layer look better. Advice on how to use it is here. You shouldnt use a metal scraper, so a design can be printed from PrusaPrinters
Octoprint
See this useful video.
Upgrades
- MK3s+ upgrade kit
- A titanium heatbreak made a big difference.
- Nylock mod, use This for working out the relative flatness.
- It might be worthwhile adding other bearings for a quieter printer, as discussed here, but you might need to print a modified part for more clearance for the bearings. However, some people disagree.
- Reddit post containing some upgrades.
- Printing sideboxes and adding weight to them helped massively with the print quality too.

- The Bear upgrade seems well worth doing, more specifically, probably only the y axis mashup from (1, 2)
- My collection of worthwhile mods on Prusa Printers and others on Thingiverse
- Epoxy levelling everywhere, just be careful of the miniscus which forms at the edges.
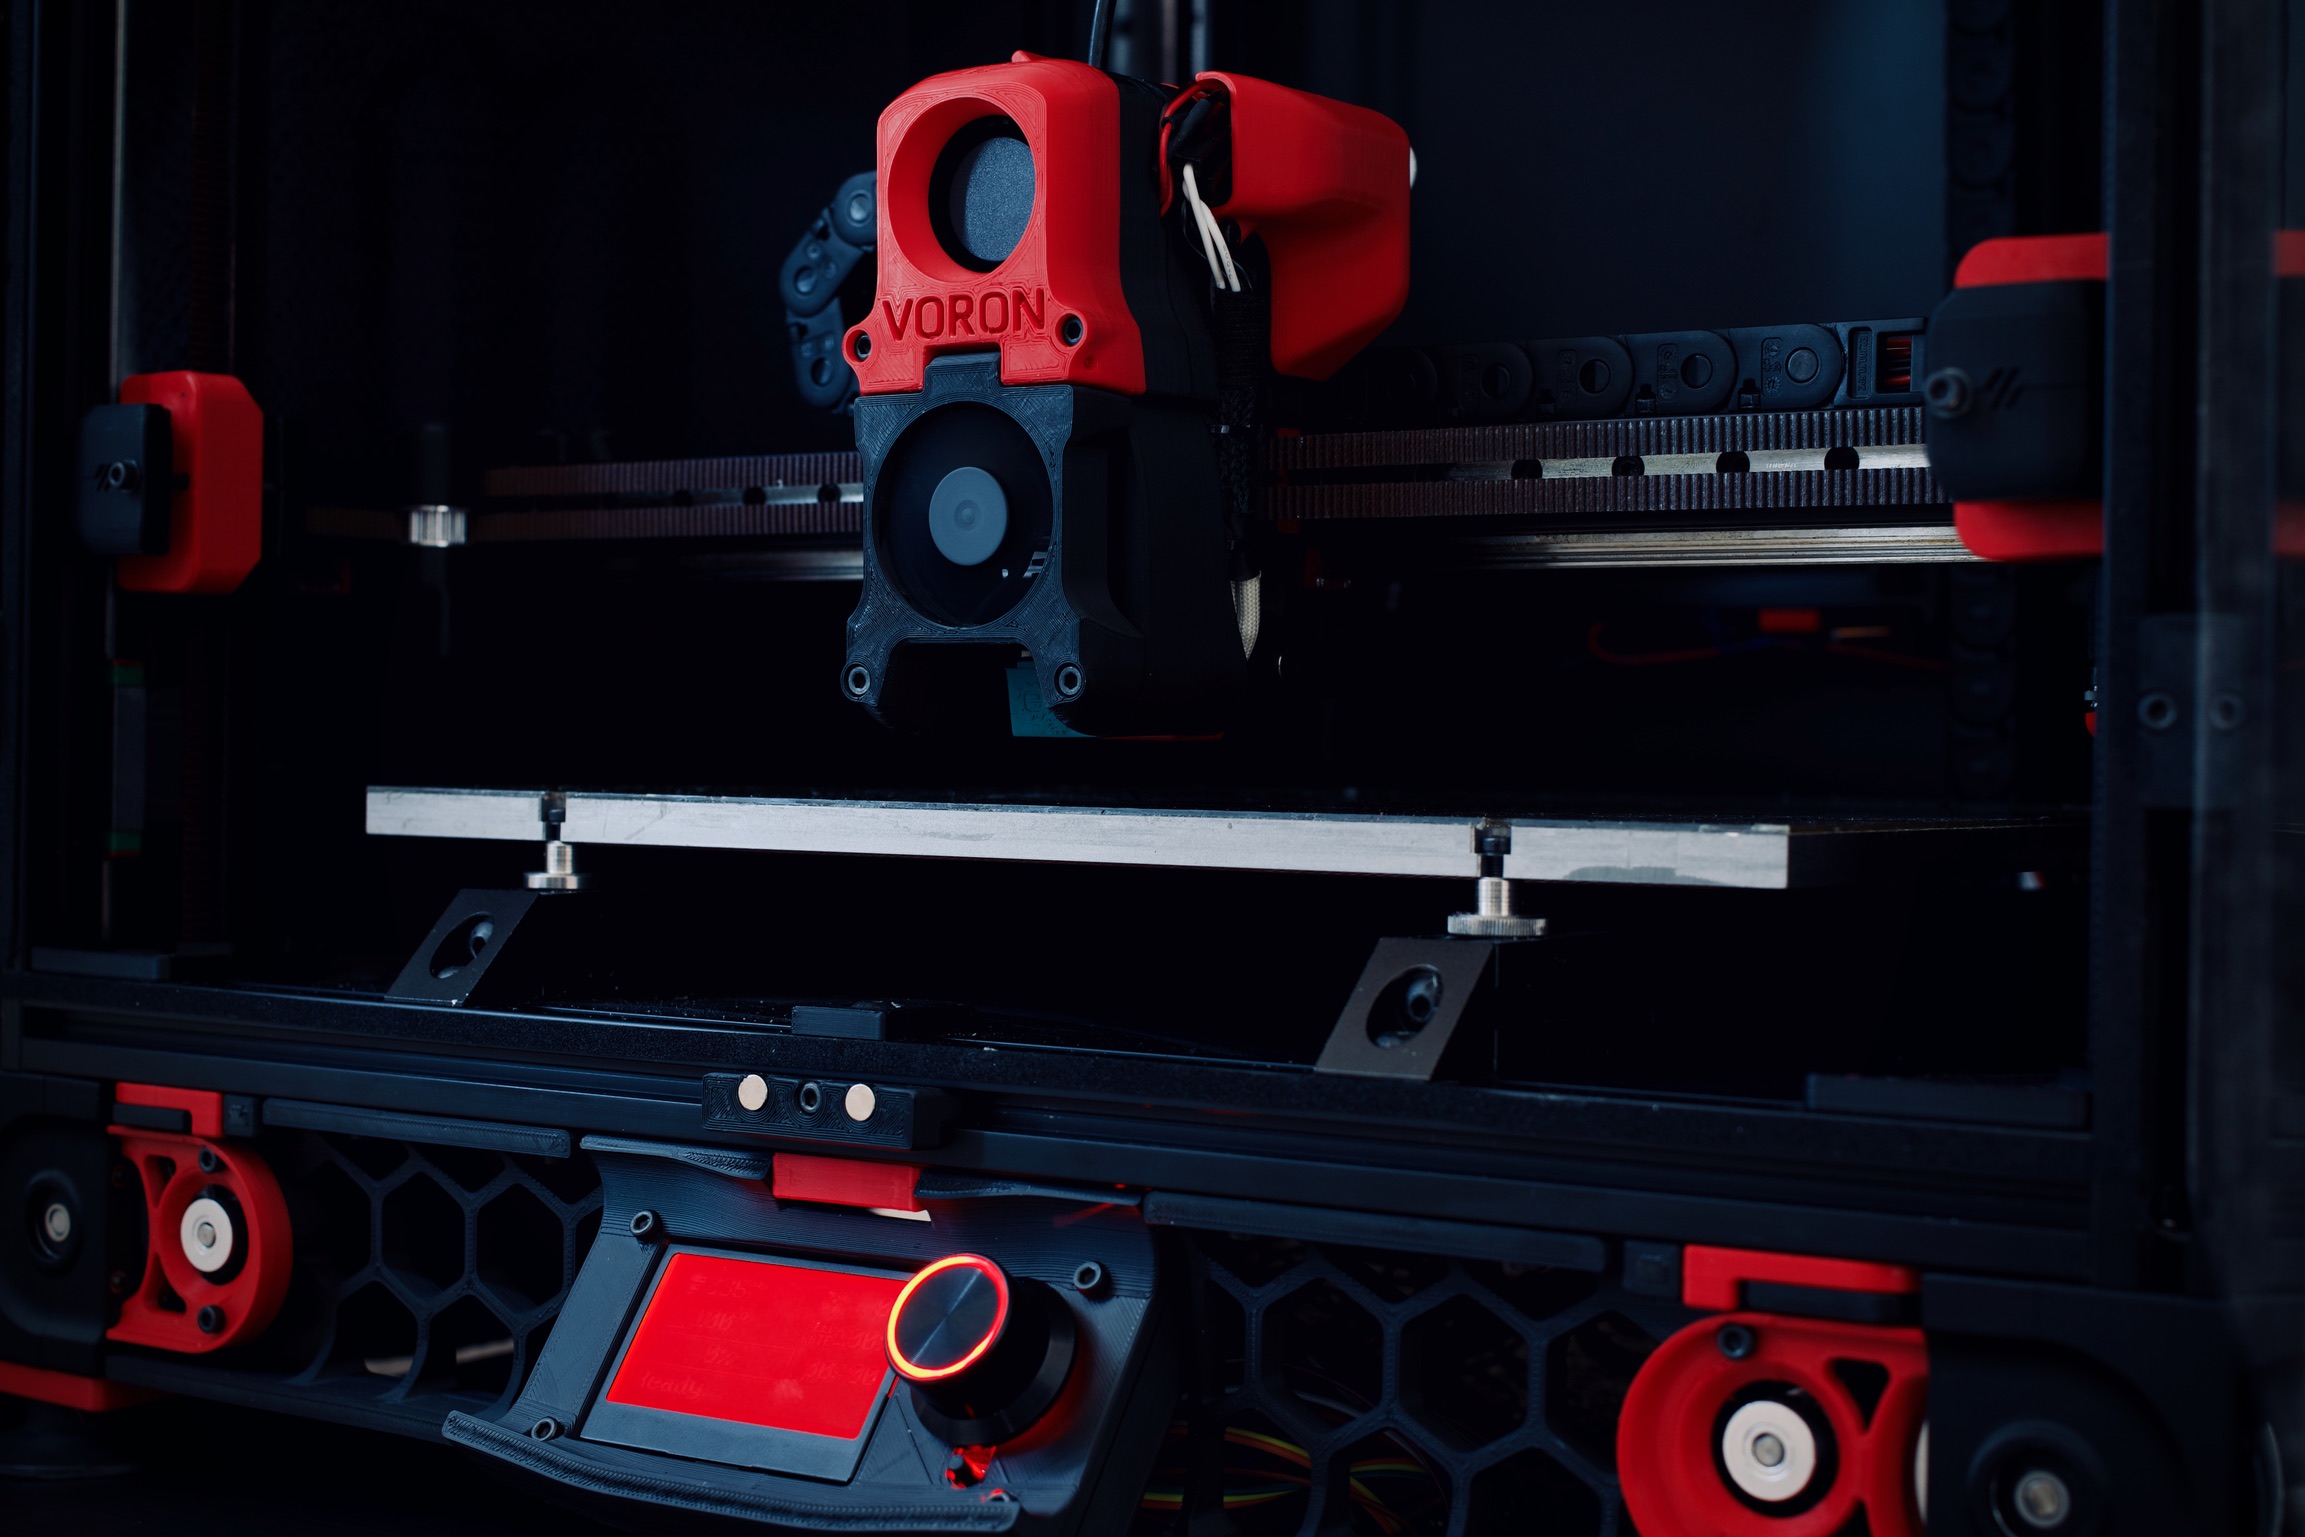
- Voron 3d printer
Voron switchwire
Someone’s build log
Team FDM forum
Comments