Klipper
for copying klipper.bin to your machine
nathan@Nathans-MacBook-Pro Desktop % scp pi@mainsailos.local:~/klipper/out/klipper.bin /Users/nathan/Desktop/klipper
pi@mainsailos.local's password:
klipper.bin                                   100%   23KB 382.0KB/s   00:00
For getting your serial number
pi@mainsailos:~ $ ls
gcode_files  klipper_config  klippy-env  mjpg-streamer  moonraker-env
klipper      klipper_logs    mainsail    moonraker
pi@mainsailos:~ $ cd klipper_config
pi@mainsailos:~/klipper_config $ ls
mainsail.cfg  moonraker.conf  webcam.txt
pi@mainsailos:~/klipper_config $ cd ..
pi@mainsailos:~ $ ls -l /dev/serial/by-id
total 0
lrwxrwxrwx 1 root root 13 Jan 28 02:37 usb-Klipper_stm32f103xe_39FFD9054247333142751557-if00 -> ../../ttyACM0
Mainsail vs Fluidd
SuperSlicer
A profile to start with for SuperSlicer is here
Add the following to the print_start of your printer.cfg
    M190 S{bedtemp}                ; set & wait for bed temp
    M109 S{hotendtemp}             ; set & wait for hotend temp

    G1 E5 F1000 ; de-retract and push ooze
    G91 G1 X-3 F6000 ; move x to the left
    G91 G1 Y-3 F6000; move y forward
    G1 Z-20.0 F1000             ; move nozzle down
    G1 X-50.0 E6  F800.0 ; fat 50mm intro line @ 0.30
    G1 X-50.0 E3.2  F1000.0 ; fat 50mm intro line @ 0.30
    G1 E-0.8 F3000; retract to avoid stringing
    G1 X30 E0 F1000.0 ; wipe action to avoid string
    G28 Z                          ; final z homing
Here and here are some more macros
You can also adjust the name of the output gcode file:
[input_filename_base]_{printer_model}_{nozzle_diameter[0]}n_{filament_type[0]}_[temperature]C_[layer_height]mm_[fill_density]_[print_time].gcode
or
{input_filename_base}_{layer_height}mm_{filament_type[0]}_{nozzle_diameter}_{print_time}.gcode
Discussed in more detail here
Todo
- [ ] Pressure advance
- [ ] Input shaper
- [ ] Switch lights on in print_start macro
- [ ] Use thermistor to wait for chamber temp in print_start macro
- [ ] Display chamber temp on display
Pressure Advance
add to the custom g-code for a filament in prusaSlicer/SuperSlicer for your filament.
SET_PRESSURE_ADVANCE ADVANCE=0.043825
mods
There is a very nice website for checking out mods here

v0.1 part cooling
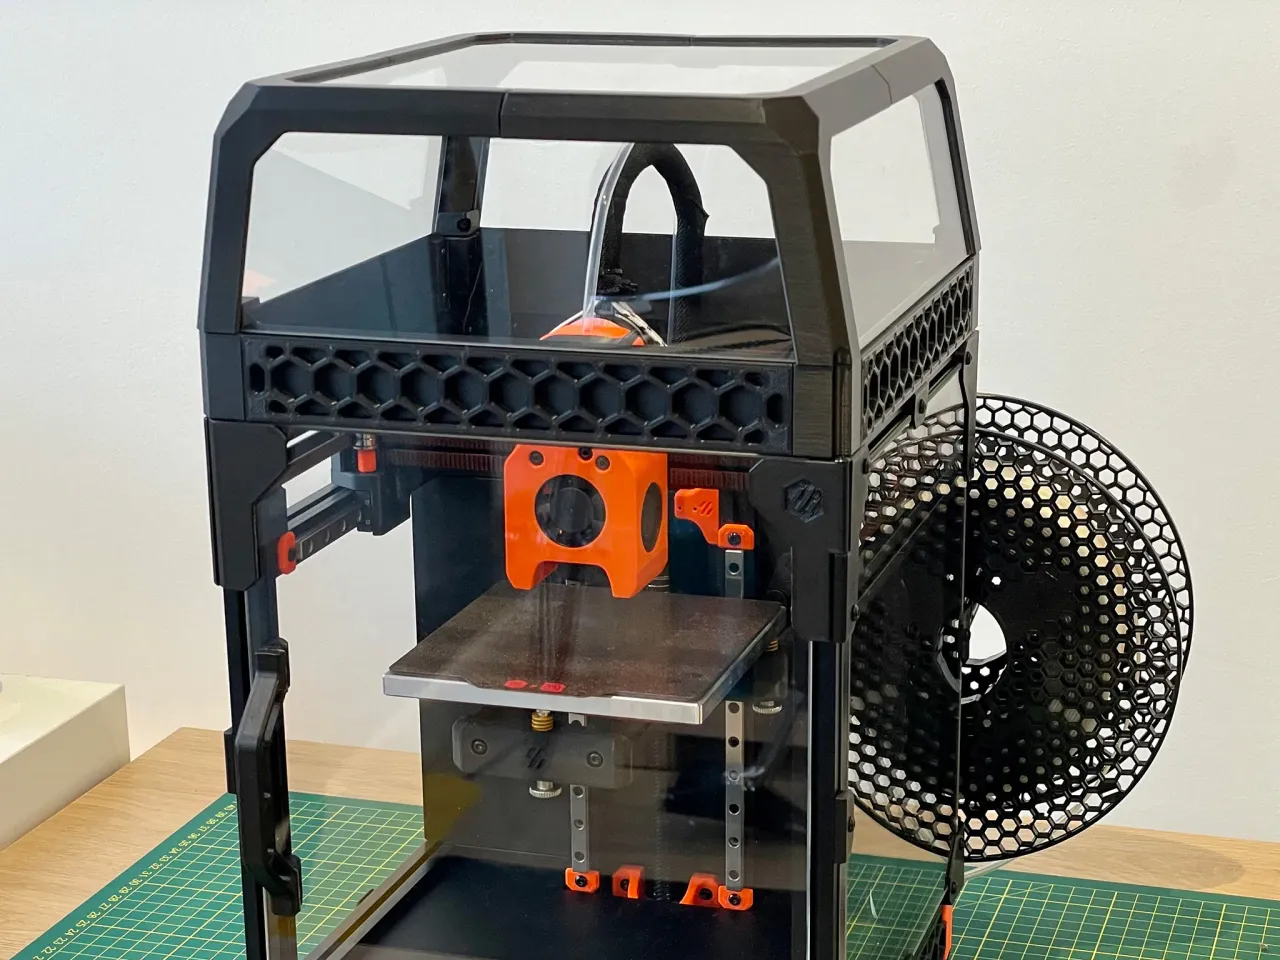
I have been far too obsessive about enclosing and insulating a printer for ABS. ABS parts printed in a semi enclosed machine are the best quality parts I have ever seen. So, it would seem that only side panels are necessary and the machine does not need to be fully enclosed. Enclosing and insulating the machine would help with wasting less electricity, but you then need to make very sure that the cooling system is sufficient.
This fansaver mod was very helpful for preventing the v0.1 fans from overheating. However, I am still finding it to be insufficient.
Some interesting options are in this video below.
and this is how you can make the berd-air system quieter
Reddit discussion about it.

voron mod parts are here and you can buy the parts from aliexpress or the official store
An attachment mod is here or here
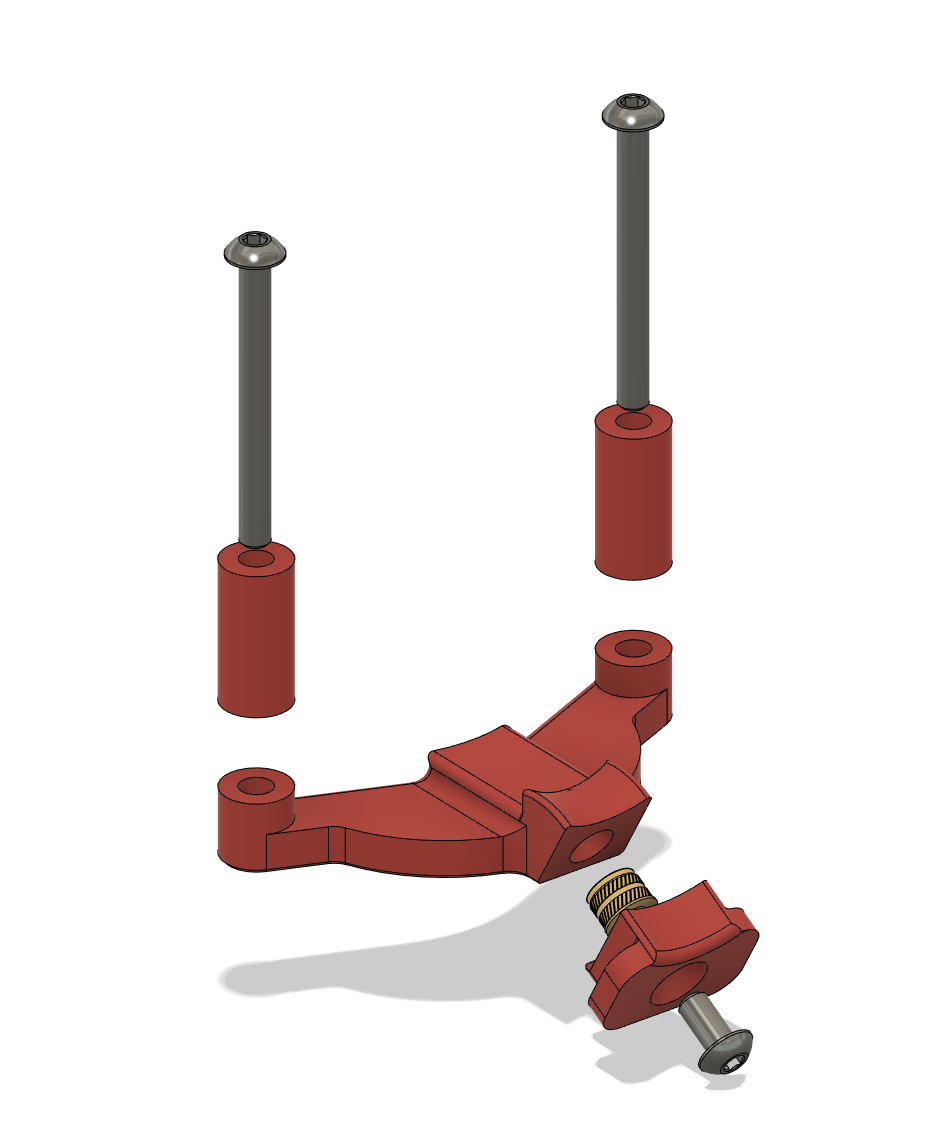
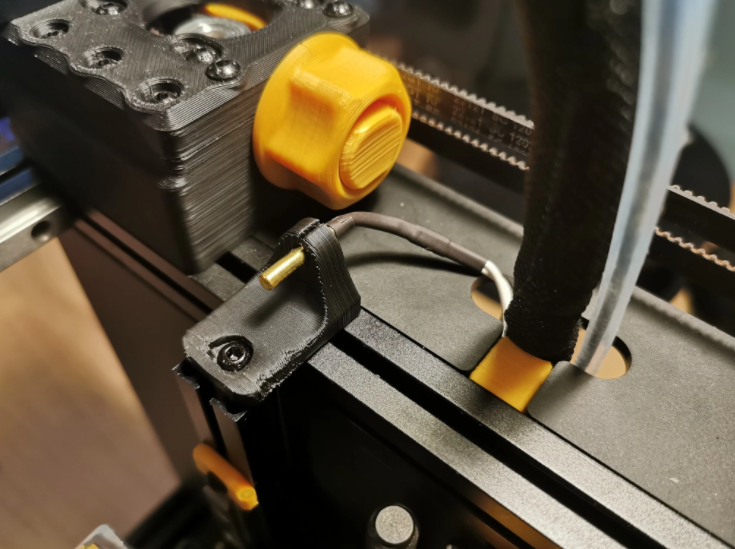
Other v0 mods
Note - preloaded nuts are an absolute pain on the v0.1. If you forget or want to add more nuts, most of the frame needs to come apart. A good tip is to file the side of the nuts, so that they can go in without disassembling.

- The micron would probably have been better. Video series and manual

- The DooMini has better insulation

- Top-Hat belt
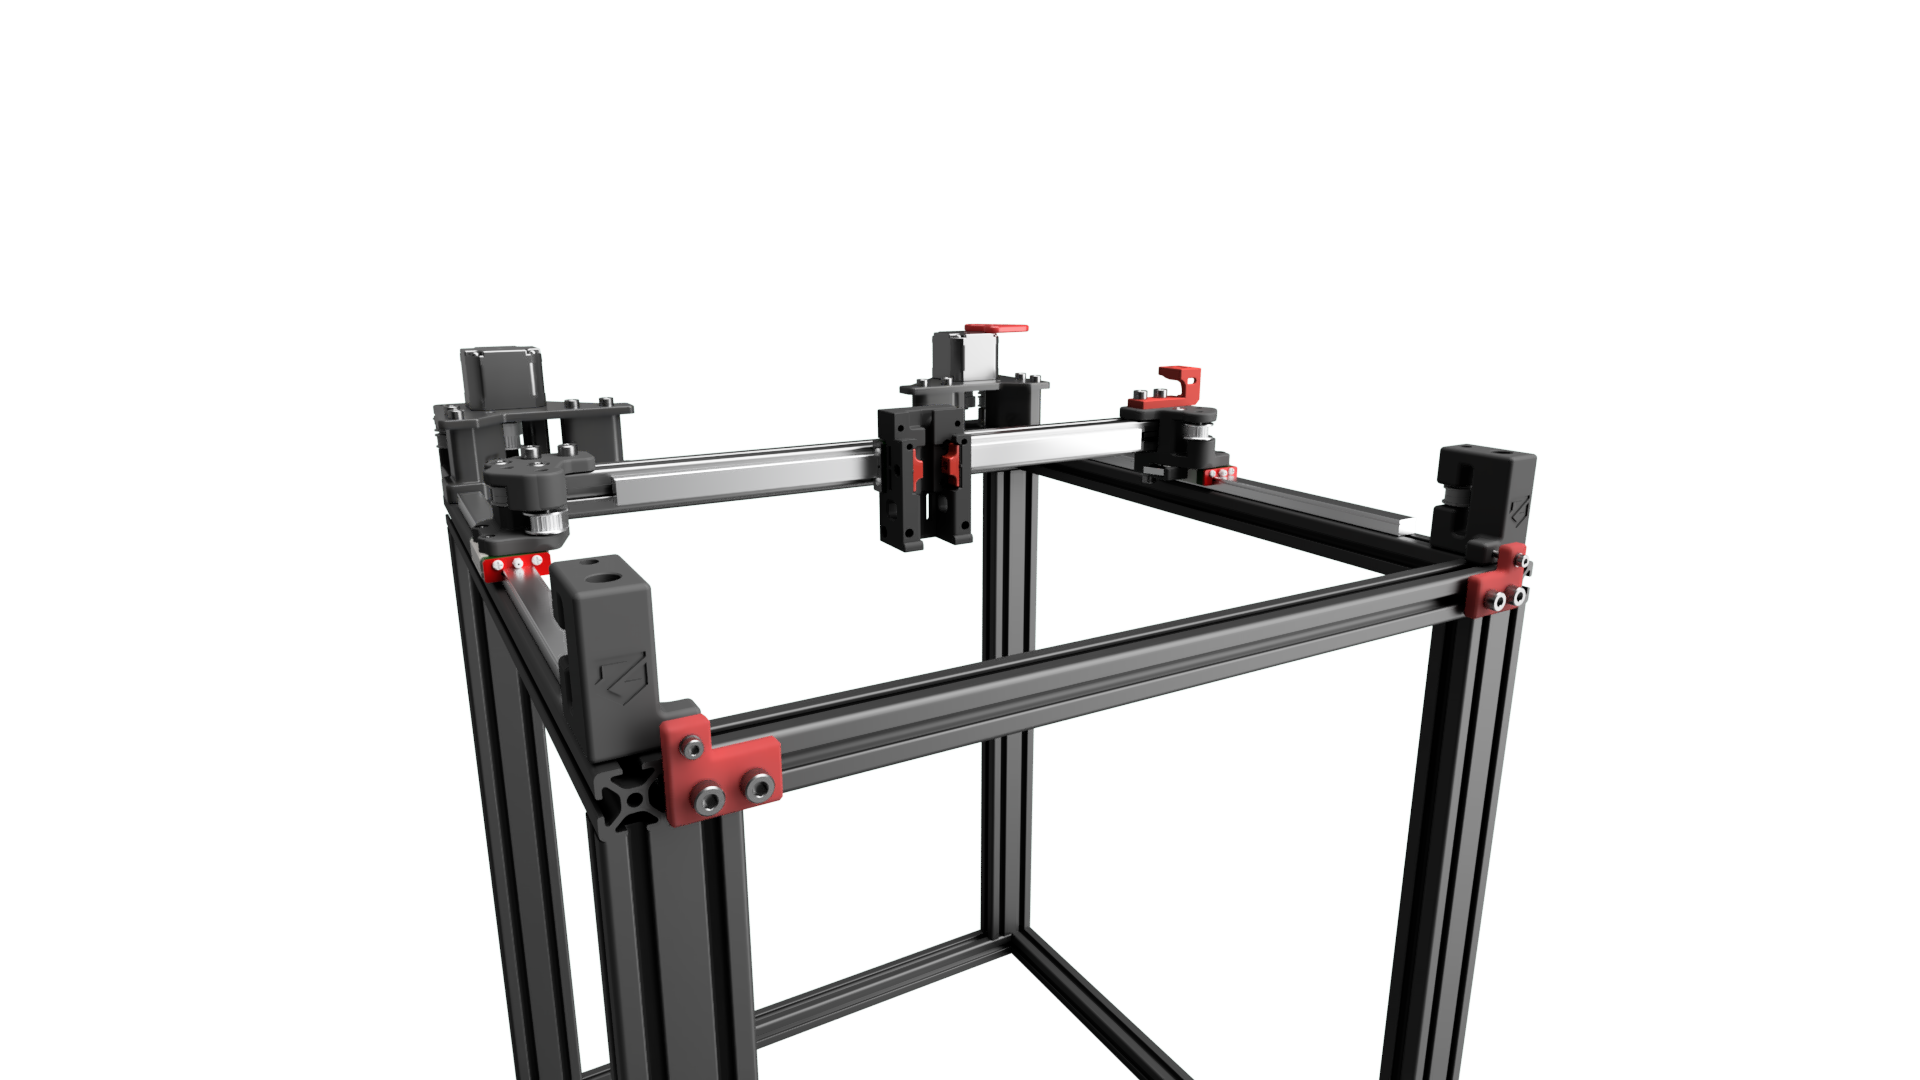
- ZeroPanels - clippable enclosure design for the panels, without screws
- Tri-Zero Belted z with automatic bed levelling, but you need a different control board, because the stock controller (SKR mini e3 v2) doesnt have enough motor drivers :(

- Alternate hotend
- Alternate extruder
- FZero - Flying gantry v0 mod

- Hinged top hat
- Klicky probe or ZeroClick
- V0 belt holder
- Bondtech LGX lite - I have been unimpressed with the stock extruder on the v0.1. Its very cramped, its also difficult to get the filament in a lot of times. Install guide
- v0.1 Belted z drive
- Pulley z drive mod
- There are a bunch more in the legacy and user mods repos
- Motor panel mod
- Second x rail mod
- Improved after burner strain relief
- Improved ADXL345 accelerometer sensor mount
- MGN9 rail mod
- Electronics bay and enclosure seperator
- Orbiter extruder mod
- Thermistor holder for adding chamber temp to klipper. An alternative
- Kirigami bed mod

Voron
I feel that it is probably better to buy a creality machine or from Aliexpress and then add elements from Voron design, rather than building a Voron from scratch.
For instance, one of the Creality bed flinger Ender3-v2s could be enclosed, modded and turned into a Switchwire, an Ender 3 v2 seems like a good choice for this. An Ender 6 could be modded to have many of the elements of a Trident. Especially, considering that you could quite easily convert the ender 6 to klipper and do a bunch of other mods to improve print quality and the ender 6 could be fairly easily enclosed fully as a mod. Also, this bed levelling mod and this mod, which adds linear rails. The Ender 5 pro or Ender 5 plus, could be converted with this mod to have many of the aspects that Vorons have.
Alternatively, an ender 7 already has linear rails, so only the z axis would need to be upgraded
v2.4 mods
- LgxLite
- DoomCube
- DirectZ -drive
- good doomcube mod example
- Magnetic corner panel mounts
- Indicator mounts
- Extrusion mounts
- Bed fans
- Shorter z joints
- Mantis dual toolhead
- Pull out electrical store
XY offset
Aliexpress stores
Deals
All3DP maintain a page which lists discounts and deals.
Acetaone smoothing
You can smooth out ABS prints with Acetone. It gets rid of any visible layer lines, but is kinda difficult to control and melts the part, which could lead to some loss of detail and part deformation.
Comments